

Post by Achilles on Mar 22, 2011 22:24:56 GMT -6
Well, here we are for another installment of Tuesday Night MERCs. Tonight Jeremy took his newly assembled Yellowjackets for a run against my USCR. It was quite interesting playing against a force I myself have been playing for some time and was a nice change from constantly shooting at those dirty camouflaged KemVar.

My USCR deployed mostly around the Behemoth and Commissar. The Medic and Monkeywrench sat in support. The Lucky Sniper held the edge of the refused flank, keeping watch on the exit through the ruined lab.
The CCC Deploy in a mirrored group, with the Heavy holding the edge while the Sniper, Medic, Assault Leader and Incinerator stay in a squad.
TURN 1
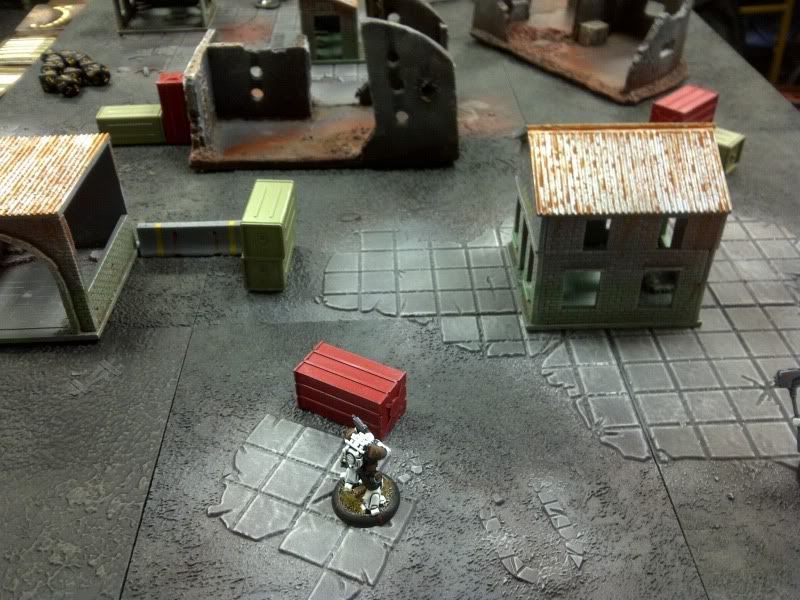
Both teams bound into position turn 1. The Behemoth and Commissar take up position around a corner while the Behemoth takes position beside some crates.

The USCR Sniper manages to draw a line on the Bounding CCC Sniper due to a very low initiative roll. The anchor deploys without using the Crack Shot skill, tagging the poor sniper in place and causing a blood!
TURN 2

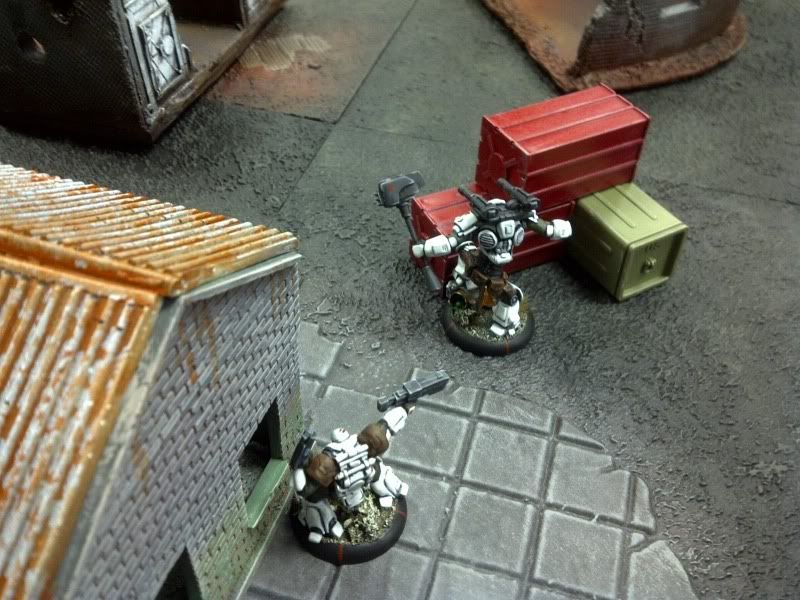
WIth a wicked high initiative roll, the sniper Snaps to the right on the crate and draws a bead on the CCC Incinerator. With this more important roll on the line, I decide to use my crack shot to tag the horrifyingly dangerous Kat in place.

The CCC Medic and Heavy both put up suppression to keep the Behemoth and Sniper under cover if at all possible. The CCC Leader snaps to the Sniper and repairs his anchor. The USCR Monkeywrench attempts to put fire on the enemy Heavy but fails his suppression test.
TURN 3

The USCR Medic decides to Bound in order to give himself options after the CCC act. This turns out to be wise as the CCC Heavy maintain suppression and the Leader Moves over to put up Overwatch. Deciding that valor is the better part of discretion, the USCR Monkeywrench rushes up to the door of the Lab, hoping to draw off the flamethrower.

The USCR Medic then flanks around the other ruined lab building with his Bound move. Hoping to catch multiple models in his grenade range the Commissar attempts to fire his Ice Grenade gun but fails his suppression with a 1!

The Incinerator then opens up with her flamer, torching the Commissar and USCR Monkeywrench in the sweep. The Commissar fails his armour roll and the Monkey takes a blood and does the same. The Medic bounds off the Behemoth.

The Sniper fires on the Behemoth, causing a blood but the big Russian passes his armour roll. The Sniper then ducked back behind a wall.

Rushing around past the suppression and overwatch of the CCC Heavy and Leader the Medic finds a highly lethal position behind the Heavy and in short range.

Combined fire from the Medic and Incinerator kill the Commissar and place another blood on the Monkeywrench. The Commissar however manages to land an Ice Grenade on the two of them, locking them in place. The Behemoth attempts to fire at both figures in return but fails to hit at all.
TURN 4

The CCC Leader puts a blood on the USCR Medic. In return, the Medic puts two rounds into the back of the Heavy at point blood range.

The Behemoth finally gets a bead on the Incinerator, putting two blood on her. Again, the CCC Medic is missed.

The CCC Leader attempts to put down the Medic before he can kill the Heavy, but he misses! In return the Medic finishes of the Heavy from behind. The Behemoth finishes off the Incinerator.
TURN 5, 6

The CCC Medic and Sniper, now free from the ice, attempt to get out of line of fire for the behemoth. He bounds off the USCR Sniper and tracks them into the building by moving up. The CCC Leader bounds to get behind the Behemoth, hoping to throw his EMP Grenade at the USCR Heavy.

The USCR Sniper bounds off hte Behemoth. Punishing fire keeps the two CCC pinned as the Behemoth slowly rotates around the interior of the building with S2C. The CCC Leader, now worked behind the big guy drops his EMP, breaking the Behemoths armour.

The USCR Sniper bounds up to the Lab, hoping to finally put fire on the two CCC cowering in the building.

... but its too late. The CCC Leader gets in behind the Behemoth as he finishes off the Medic. Two rounds in the back of the broken armoured giant puts him down, at which point my USCR concedes.
A very back and forth game! It was very enjoyable playing against a faction I had played as being on the receiving end of my own tactics was quite refreshing. We had a ton of back and forth hilarious flubbed rolls. Both our leaders failed crucial dice rolls with both my Ice gun and his Assault rifle that would have seriously impacted the outcome of the game. All in all a wonderfully interesting game!
My USCR deployed mostly around the Behemoth and Commissar. The Medic and Monkeywrench sat in support. The Lucky Sniper held the edge of the refused flank, keeping watch on the exit through the ruined lab.
The CCC Deploy in a mirrored group, with the Heavy holding the edge while the Sniper, Medic, Assault Leader and Incinerator stay in a squad.
TURN 1
Both teams bound into position turn 1. The Behemoth and Commissar take up position around a corner while the Behemoth takes position beside some crates.
The USCR Sniper manages to draw a line on the Bounding CCC Sniper due to a very low initiative roll. The anchor deploys without using the Crack Shot skill, tagging the poor sniper in place and causing a blood!
TURN 2
WIth a wicked high initiative roll, the sniper Snaps to the right on the crate and draws a bead on the CCC Incinerator. With this more important roll on the line, I decide to use my crack shot to tag the horrifyingly dangerous Kat in place.
The CCC Medic and Heavy both put up suppression to keep the Behemoth and Sniper under cover if at all possible. The CCC Leader snaps to the Sniper and repairs his anchor. The USCR Monkeywrench attempts to put fire on the enemy Heavy but fails his suppression test.
TURN 3
The USCR Medic decides to Bound in order to give himself options after the CCC act. This turns out to be wise as the CCC Heavy maintain suppression and the Leader Moves over to put up Overwatch. Deciding that valor is the better part of discretion, the USCR Monkeywrench rushes up to the door of the Lab, hoping to draw off the flamethrower.
The USCR Medic then flanks around the other ruined lab building with his Bound move. Hoping to catch multiple models in his grenade range the Commissar attempts to fire his Ice Grenade gun but fails his suppression with a 1!
The Incinerator then opens up with her flamer, torching the Commissar and USCR Monkeywrench in the sweep. The Commissar fails his armour roll and the Monkey takes a blood and does the same. The Medic bounds off the Behemoth.
The Sniper fires on the Behemoth, causing a blood but the big Russian passes his armour roll. The Sniper then ducked back behind a wall.
Rushing around past the suppression and overwatch of the CCC Heavy and Leader the Medic finds a highly lethal position behind the Heavy and in short range.
Combined fire from the Medic and Incinerator kill the Commissar and place another blood on the Monkeywrench. The Commissar however manages to land an Ice Grenade on the two of them, locking them in place. The Behemoth attempts to fire at both figures in return but fails to hit at all.
TURN 4
The CCC Leader puts a blood on the USCR Medic. In return, the Medic puts two rounds into the back of the Heavy at point blood range.
The Behemoth finally gets a bead on the Incinerator, putting two blood on her. Again, the CCC Medic is missed.
The CCC Leader attempts to put down the Medic before he can kill the Heavy, but he misses! In return the Medic finishes of the Heavy from behind. The Behemoth finishes off the Incinerator.
TURN 5, 6
The CCC Medic and Sniper, now free from the ice, attempt to get out of line of fire for the behemoth. He bounds off the USCR Sniper and tracks them into the building by moving up. The CCC Leader bounds to get behind the Behemoth, hoping to throw his EMP Grenade at the USCR Heavy.
The USCR Sniper bounds off hte Behemoth. Punishing fire keeps the two CCC pinned as the Behemoth slowly rotates around the interior of the building with S2C. The CCC Leader, now worked behind the big guy drops his EMP, breaking the Behemoths armour.
The USCR Sniper bounds up to the Lab, hoping to finally put fire on the two CCC cowering in the building.
... but its too late. The CCC Leader gets in behind the Behemoth as he finishes off the Medic. Two rounds in the back of the broken armoured giant puts him down, at which point my USCR concedes.
A very back and forth game! It was very enjoyable playing against a faction I had played as being on the receiving end of my own tactics was quite refreshing. We had a ton of back and forth hilarious flubbed rolls. Both our leaders failed crucial dice rolls with both my Ice gun and his Assault rifle that would have seriously impacted the outcome of the game. All in all a wonderfully interesting game!